DIY USB kennel cooling fans under $35
At some point during our travels this summer, I became increasingly irritated with the cooling setup I had thrown together for our intermediate RTK kennels. It was a setup you could see at any local agility event. A Ryobi Fan up against the kennel door “attached” by a custom-made biothane “hanger”. While it did a fine job keeping airflow on the dogs, none of my girls enjoyed having such a strong wind constantly pushed in their faces. The fans are rather bulky, so in a small or mid-sized SUV, it can make opening, closing, and locking the kennel doors a bit of a struggle. The breaking point for me was when my biothane hanger snapped. I will continue to carry the Ryobi fans with me. They provide an additional means to keep the entire crate area of the vehicle cooler overall, while having something easily portable if needed away from the vehicle.
I had seen some very nice custom fan setups on ETSY as well as a few from kennel manufacturers. These all were way more money than I was looking to invest, so I set out to do it myself. Outside of the time spent wandering around a home improvement store, each fan cost me a total of $34.94, including taxes. The fans are designed for cooling electronics and offer more than enough air-flow for my intended use. Sabine & Sypha are my service dogs, so they are constantly with me, and I just want them to be as comfortable as possible. We’re still dealing with technology, so always be mindful of whatever environment your dogs are in, as mechanical parts can fail. With that out of the way, onto the good stuff…
The Shopping List
These are the products I used for the RTK Intermediate-Sized kennel door. You may need to order a different fan size or carabiner clips if you are looking to make this work for a larger or smaller kennel.
OOK Small Black D-Ring Hangers (Part # 9985396) - Home Depot Link $3.34 /package
This comes with 3 hooks, so order accordingly. They are similar items available on Amazon, which should work just as well.Nite Ize S-Biner Dual Carabiner Stainless #2 (Part # SB2-03-01) - Home Depot Link $2.97 /each
You’ll need 2 of these. There are other options out there as well, but I’ve had good luck with this brand and it’s sizing was perfect for the intermediate-sized door. This is available on Amazon at a higher price point.GDSTIME Dual 120mm 5V USB Fans - Amazon Link $23
After testing a couple of different brands, this one had enough airflow on high, as well as the nicest housing for the price. The noise is on the low end while running on high, but at lower fan speeds, the noise is a little more noticeable.
assembly
This is all pretty straightforward, and I’ve added a couple of photos for reference.
1. Grab the necessary tools: A Phillips Head Screwdriver. If you have a small flat head screwdriver, you can use that to keep the small nut in place in the fan feet to make it a little easier for the bolt to grab the threads on the nut.
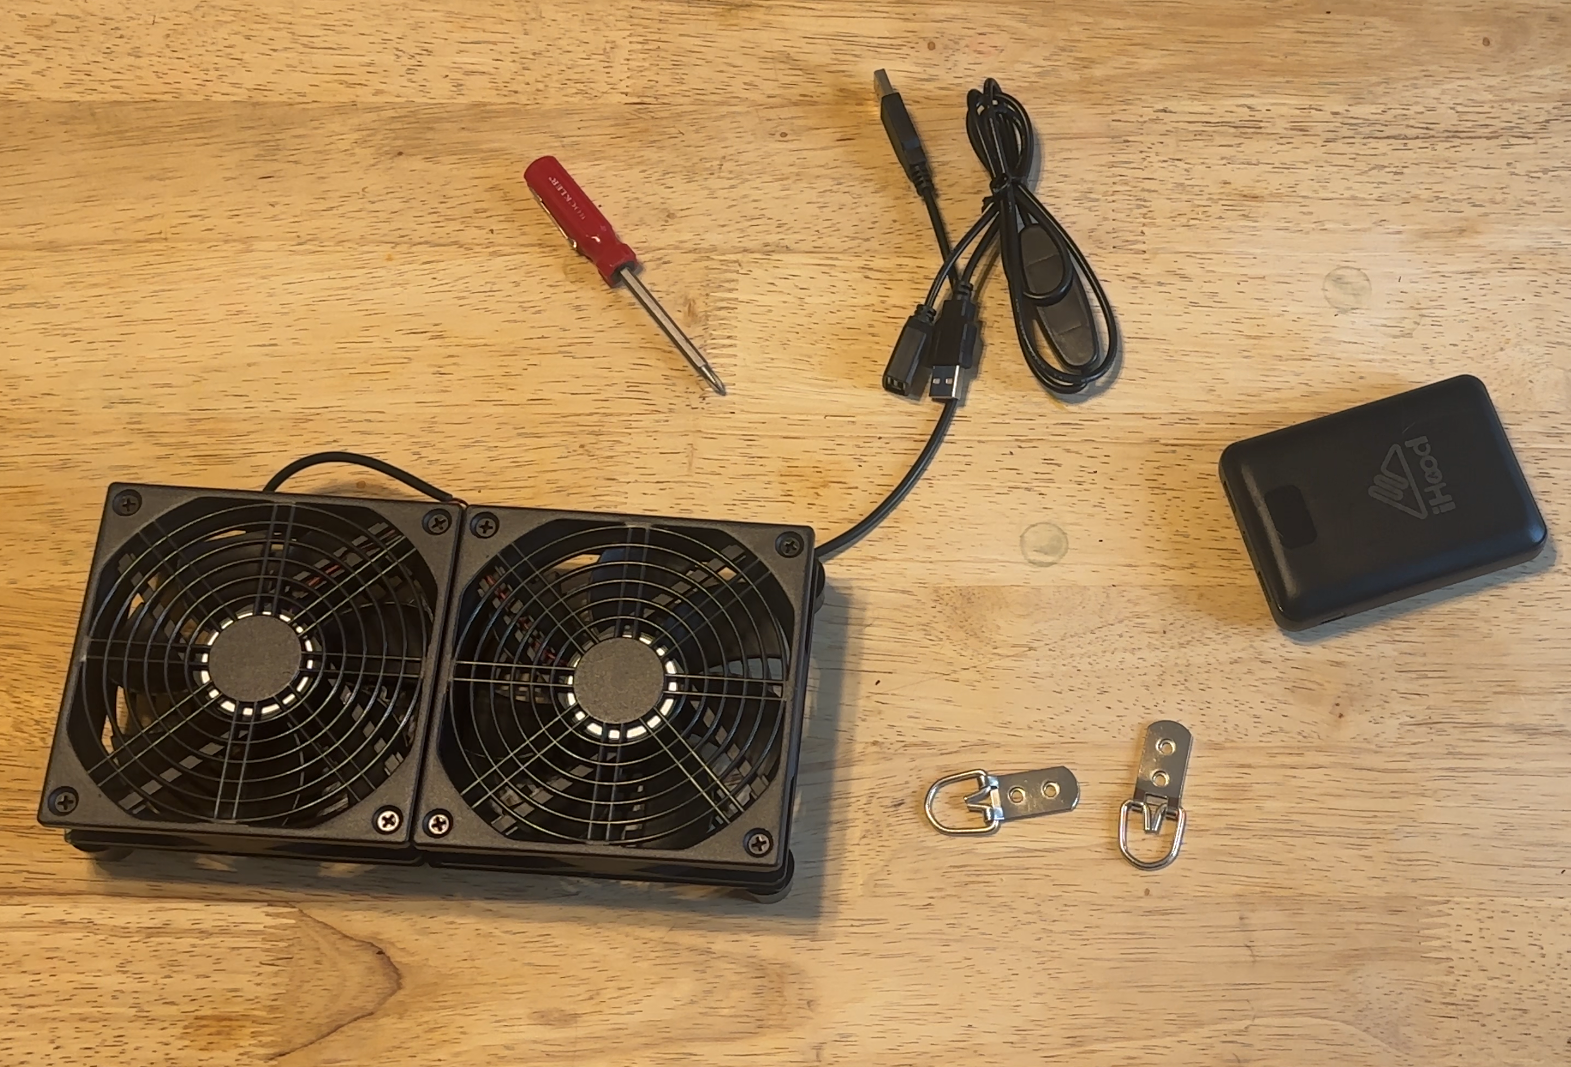
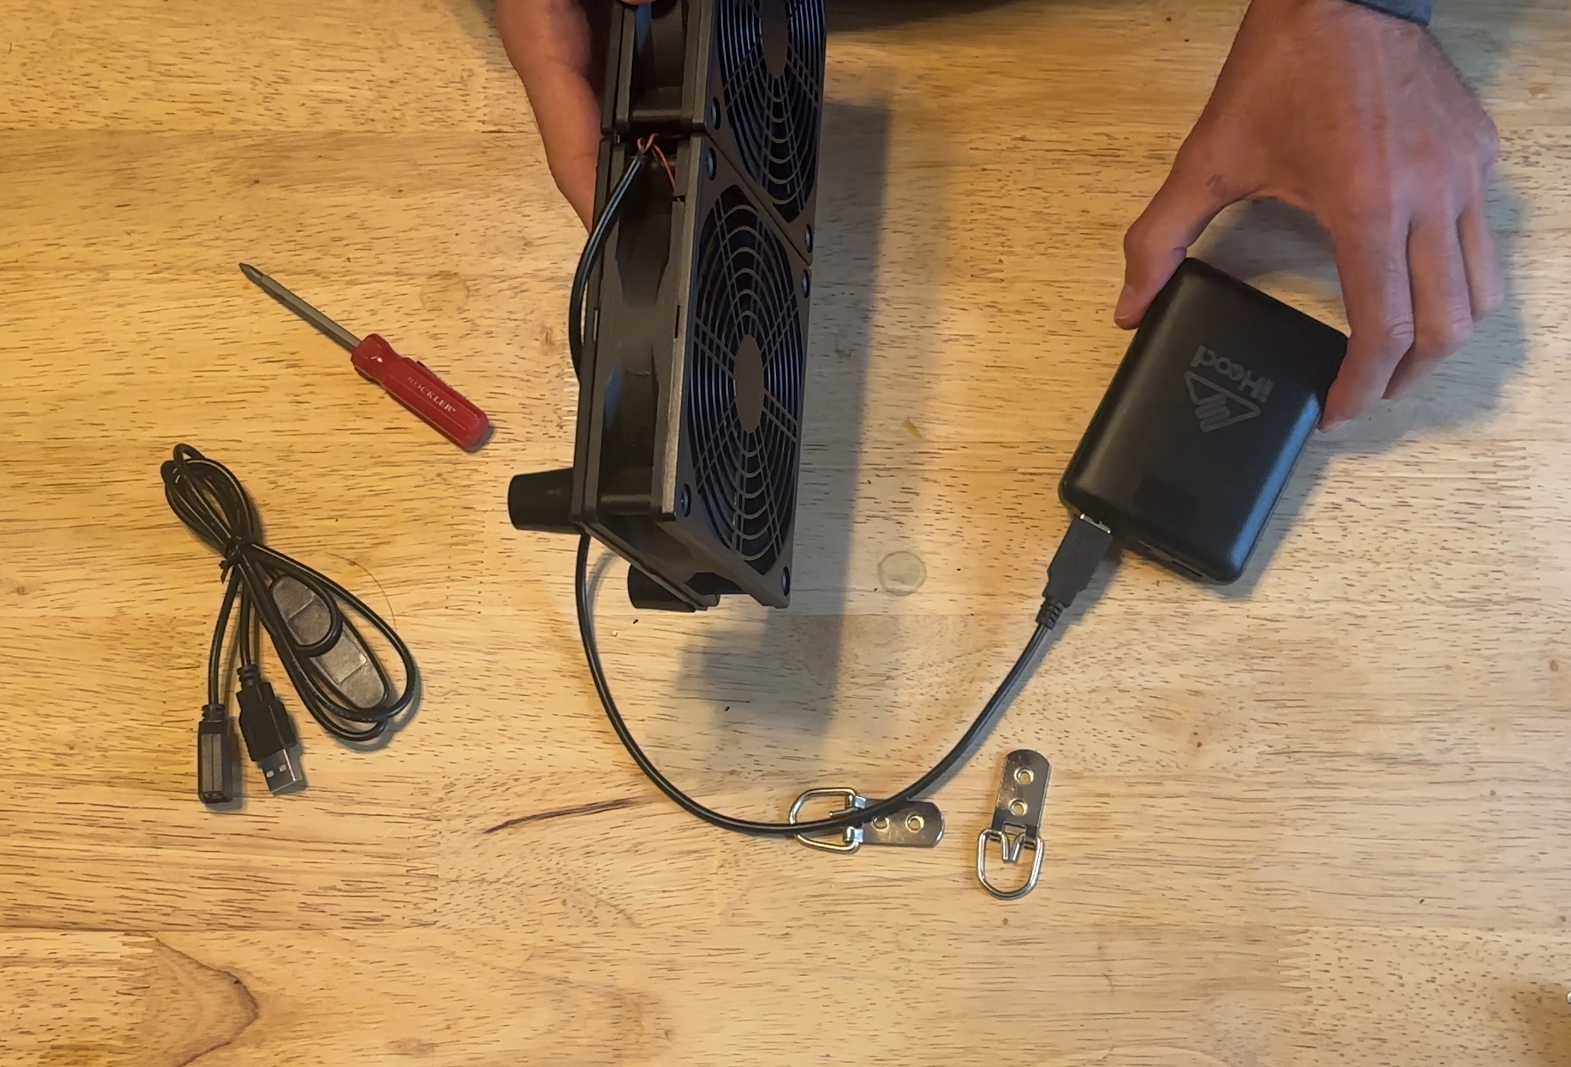
2. Figure out the direction of the airflow. The fans should have an arrow pointing in which direction the air will blow, or if you’re like me and have some serious trust issues with technology, grab a USB power pack (if you’re in a cold weather climate, grab the one from your heated vest/coat) and test the airflow direction. The USB battery is a great way to power the fans when the vehicle is not on and in use!
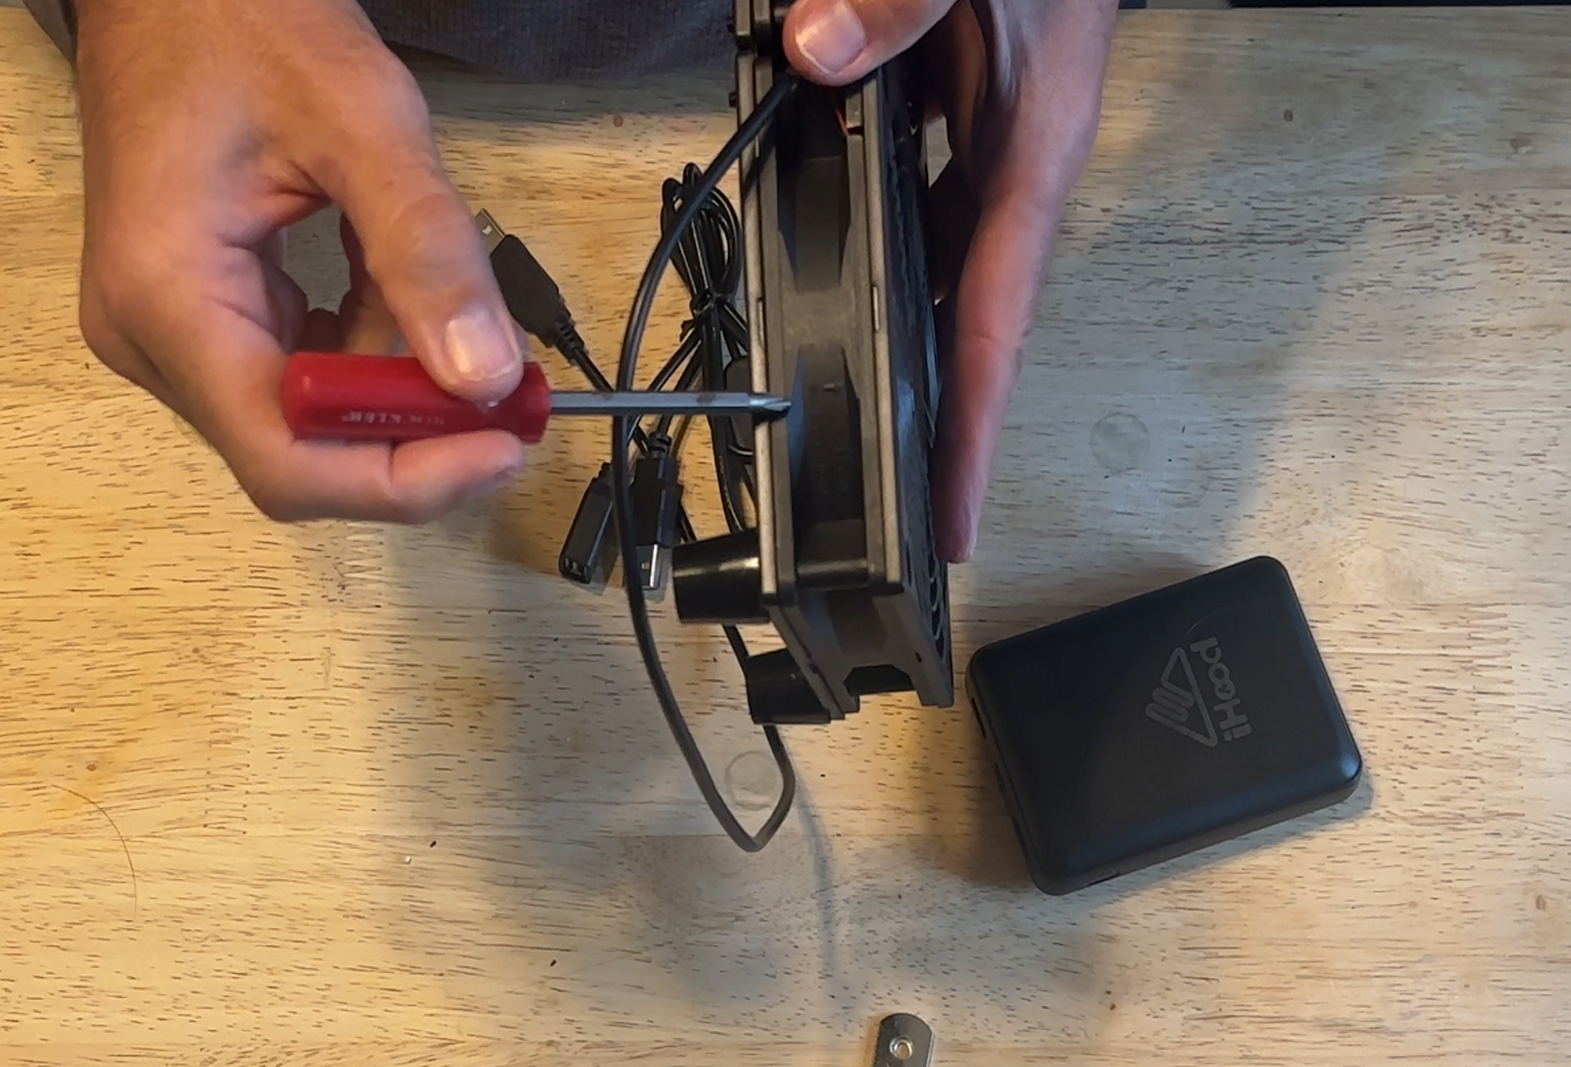
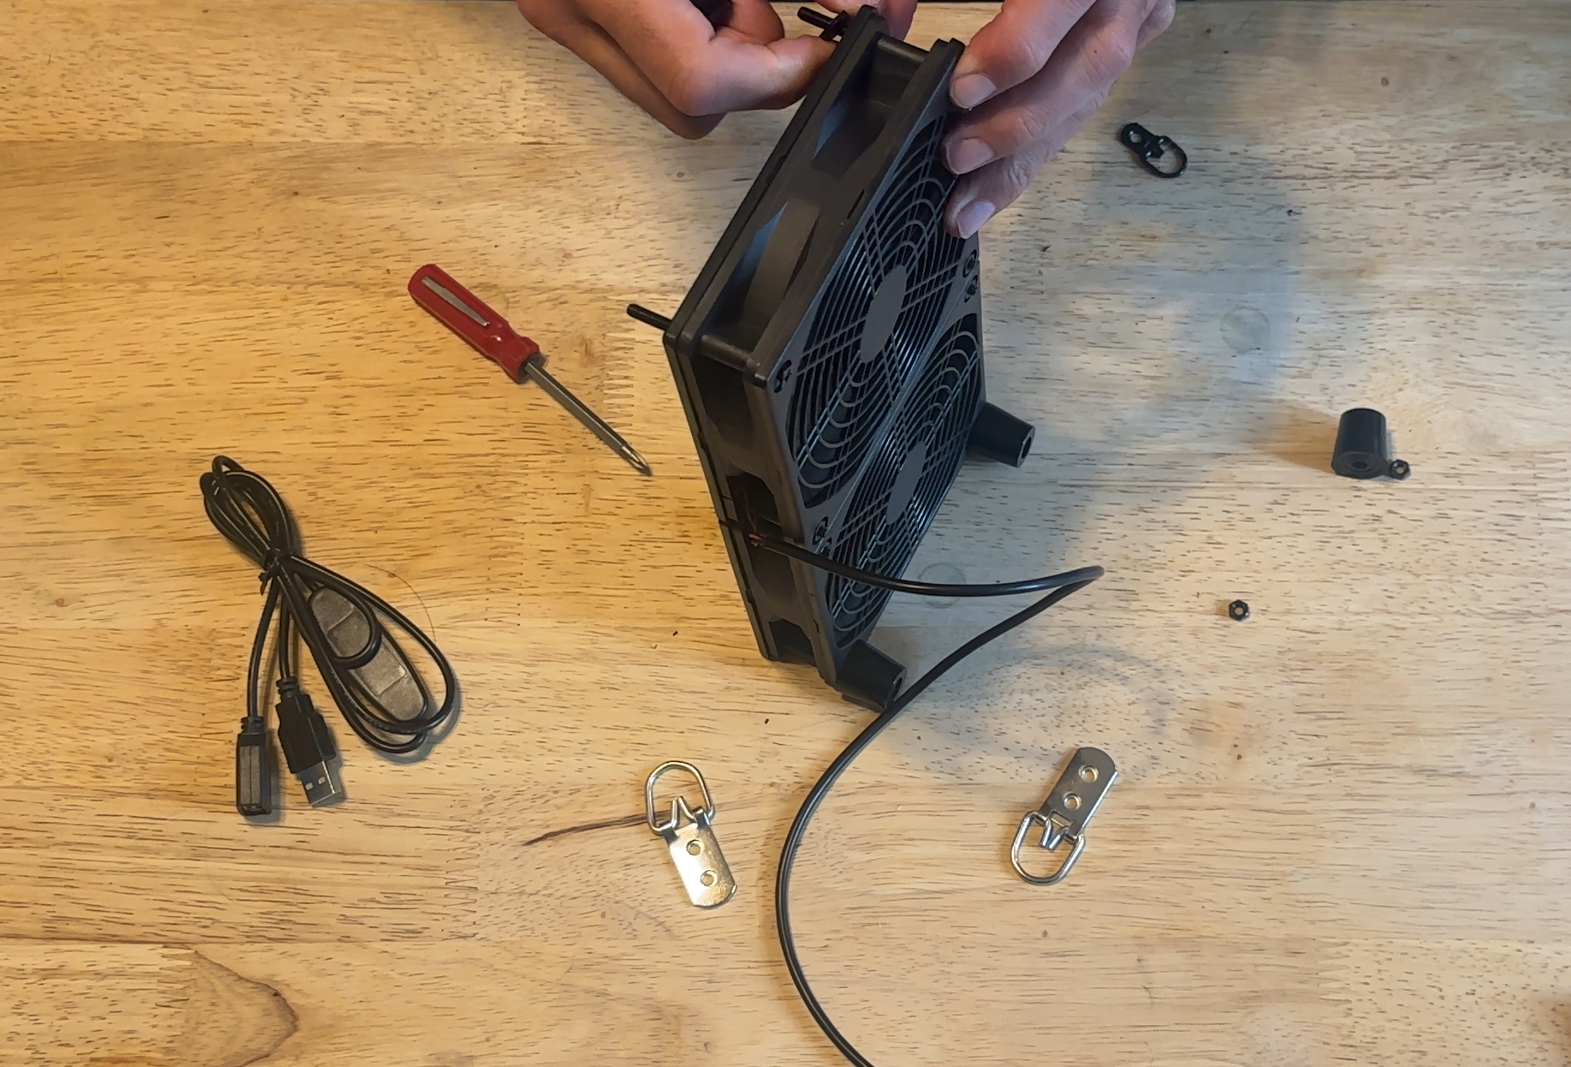
3. Remove the feet and install the D-Ring Hooks.
This fan is designed to pull heat away from electronics, so we’re going to need to move the 4 feet to the opposite side of the fan. I recommend working on either the left or right side first, completing that side, then working on the other side. The feet will have a small amount of adhesive on them, apply a little bit of pressure near the frame of the fan, & they should pop right off.
While we have the feet off, we’re going to install one of the D-Rings on the top of the fans. The power cables should be on the bottom of the fan. The D-Ring will go between the fan case and the foot. Put the long bolt back through the fan, slide the D-Ring connector on the bolt, then the foot and finally the nut. Hand-tighten everything into place
Once you’ve gotten one side complete, repeat the steps for the other side.

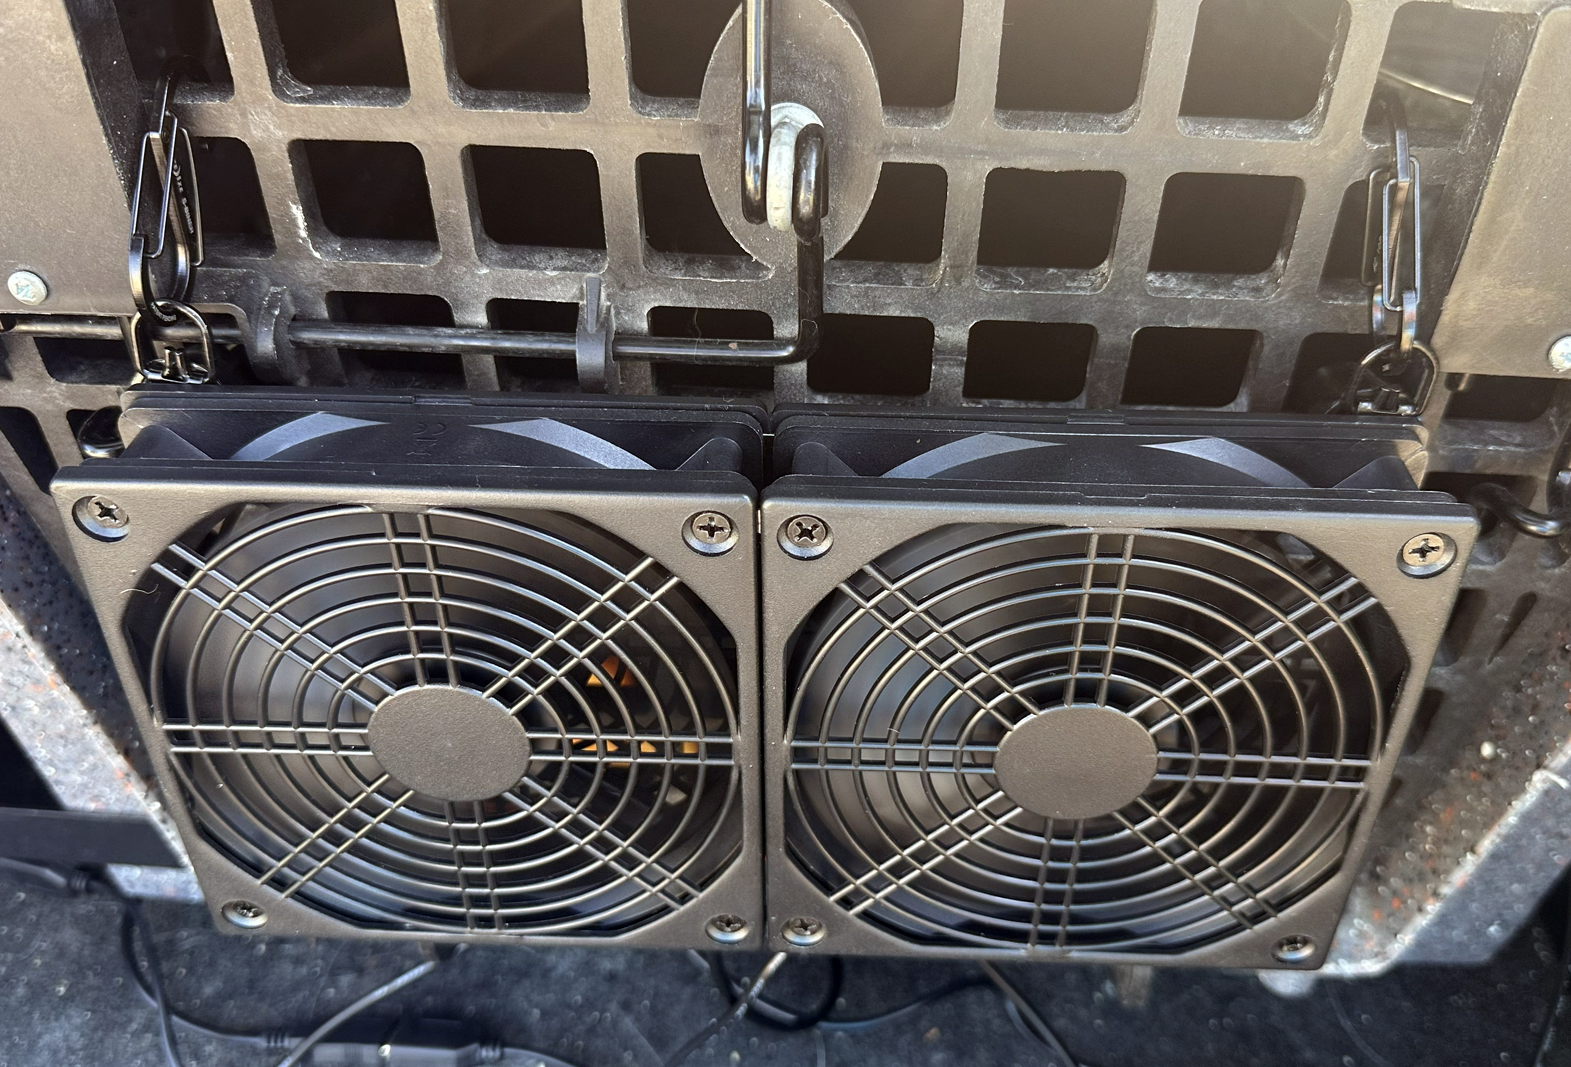
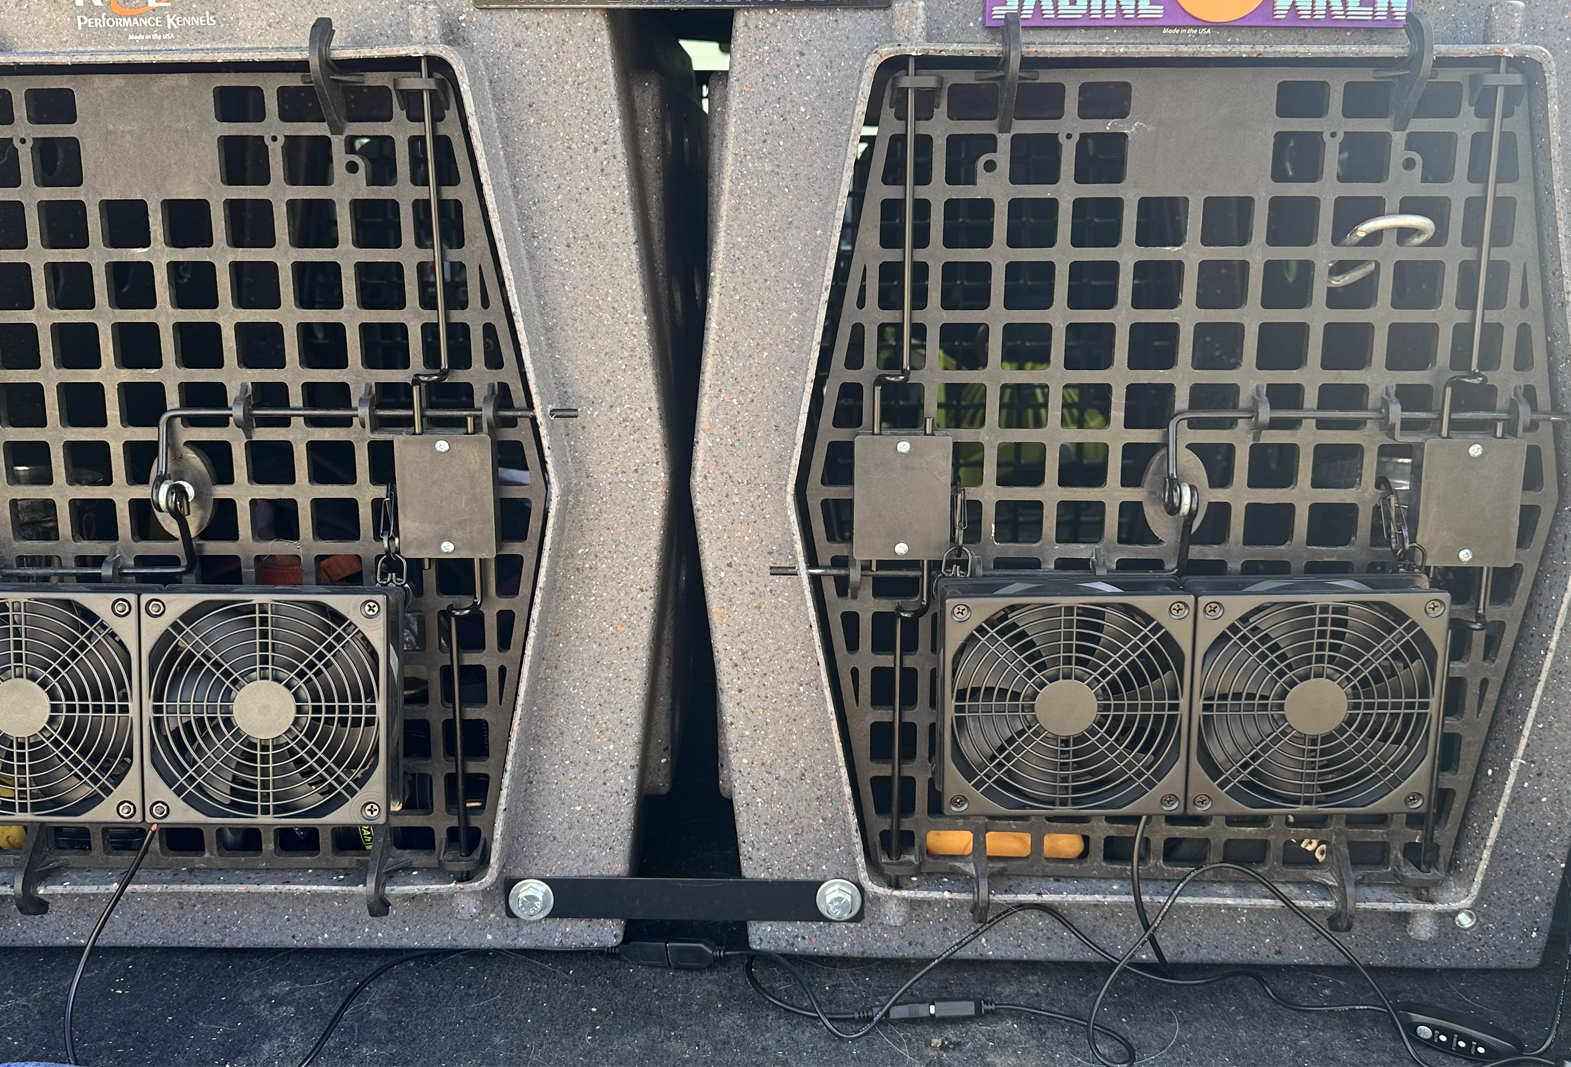
4. Hook the S-Biner on the the kennel door, and attach the fan. That’s it! Enjoy your new low-profile kennel fans!